Preparing to 3D print a prototyped chassis
Written by Kev on

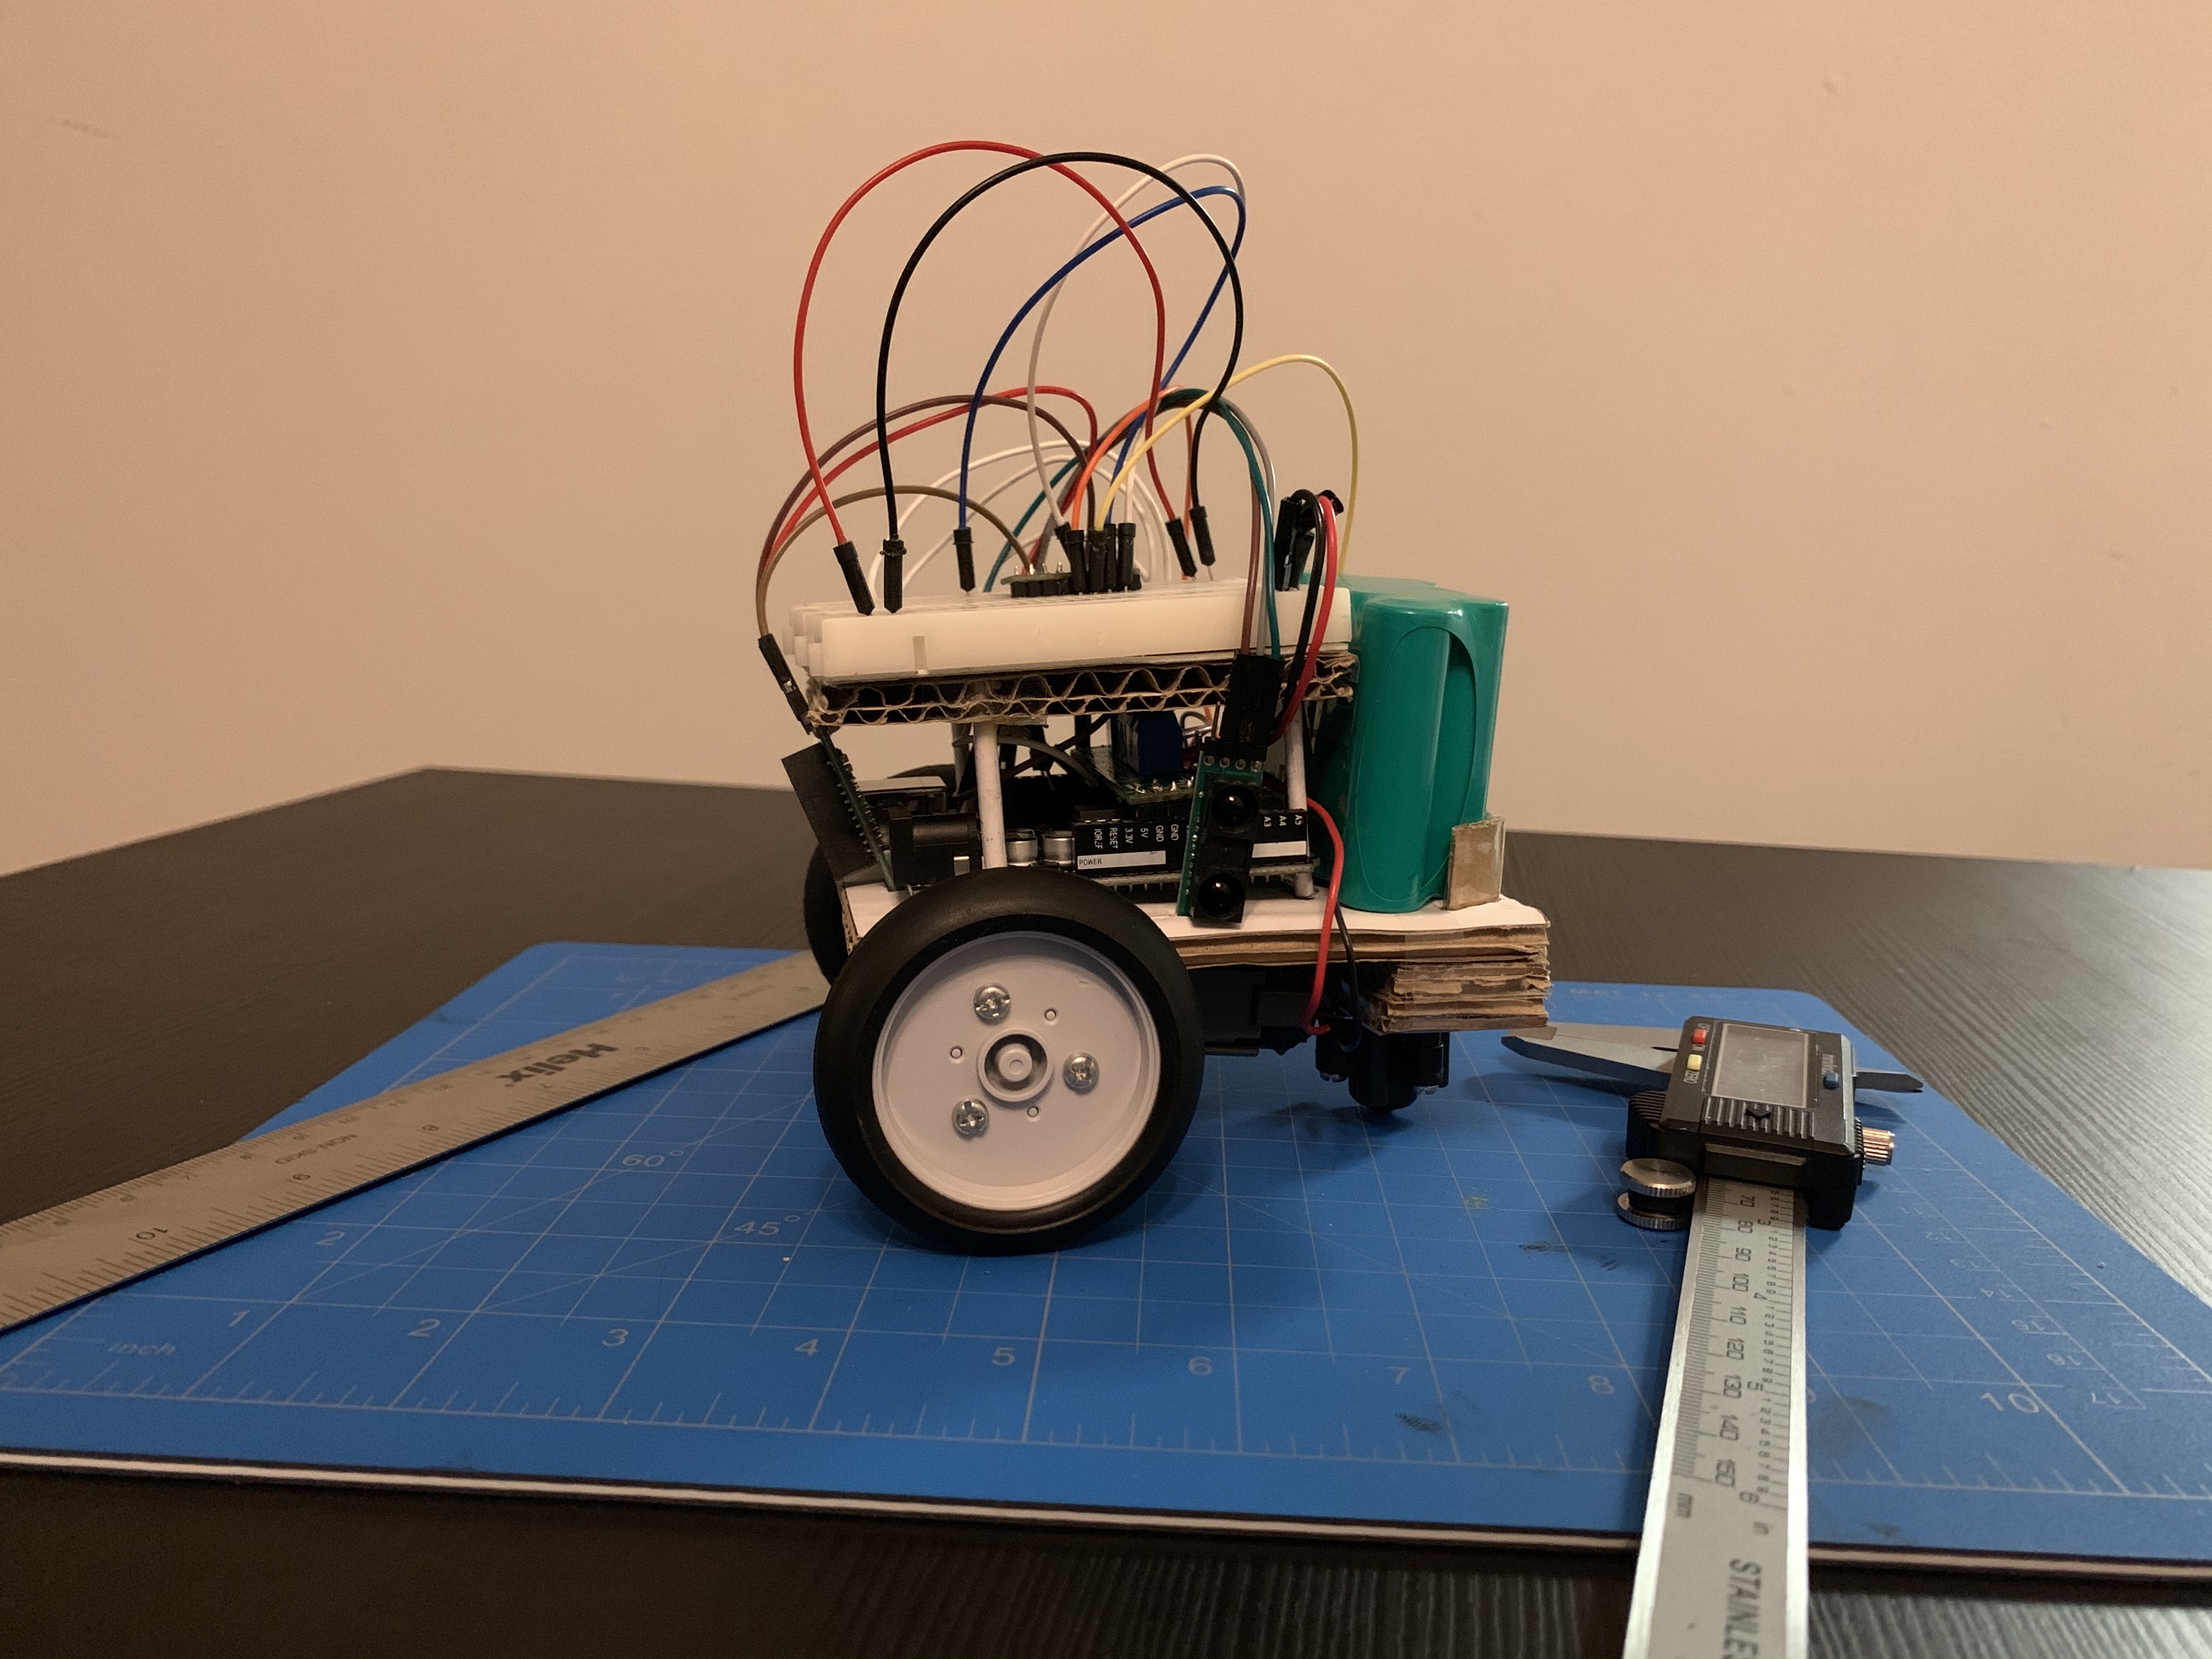
Today, I continued to work on the chassis. I decided to use cardboard once again as I could not find a software to utilize my 3D-printer for this project. During the build process of my second chassis, I used specific measurements to stabilize the Arduino board as the center. I then placed the breadboard and battery around the Arduino so that I would still be able to connect the wires. By building the chassis in this form, I would be able to have better wire management and greater stability while the robot is moving around.


Comments