On-Off Photoresistor Circuit

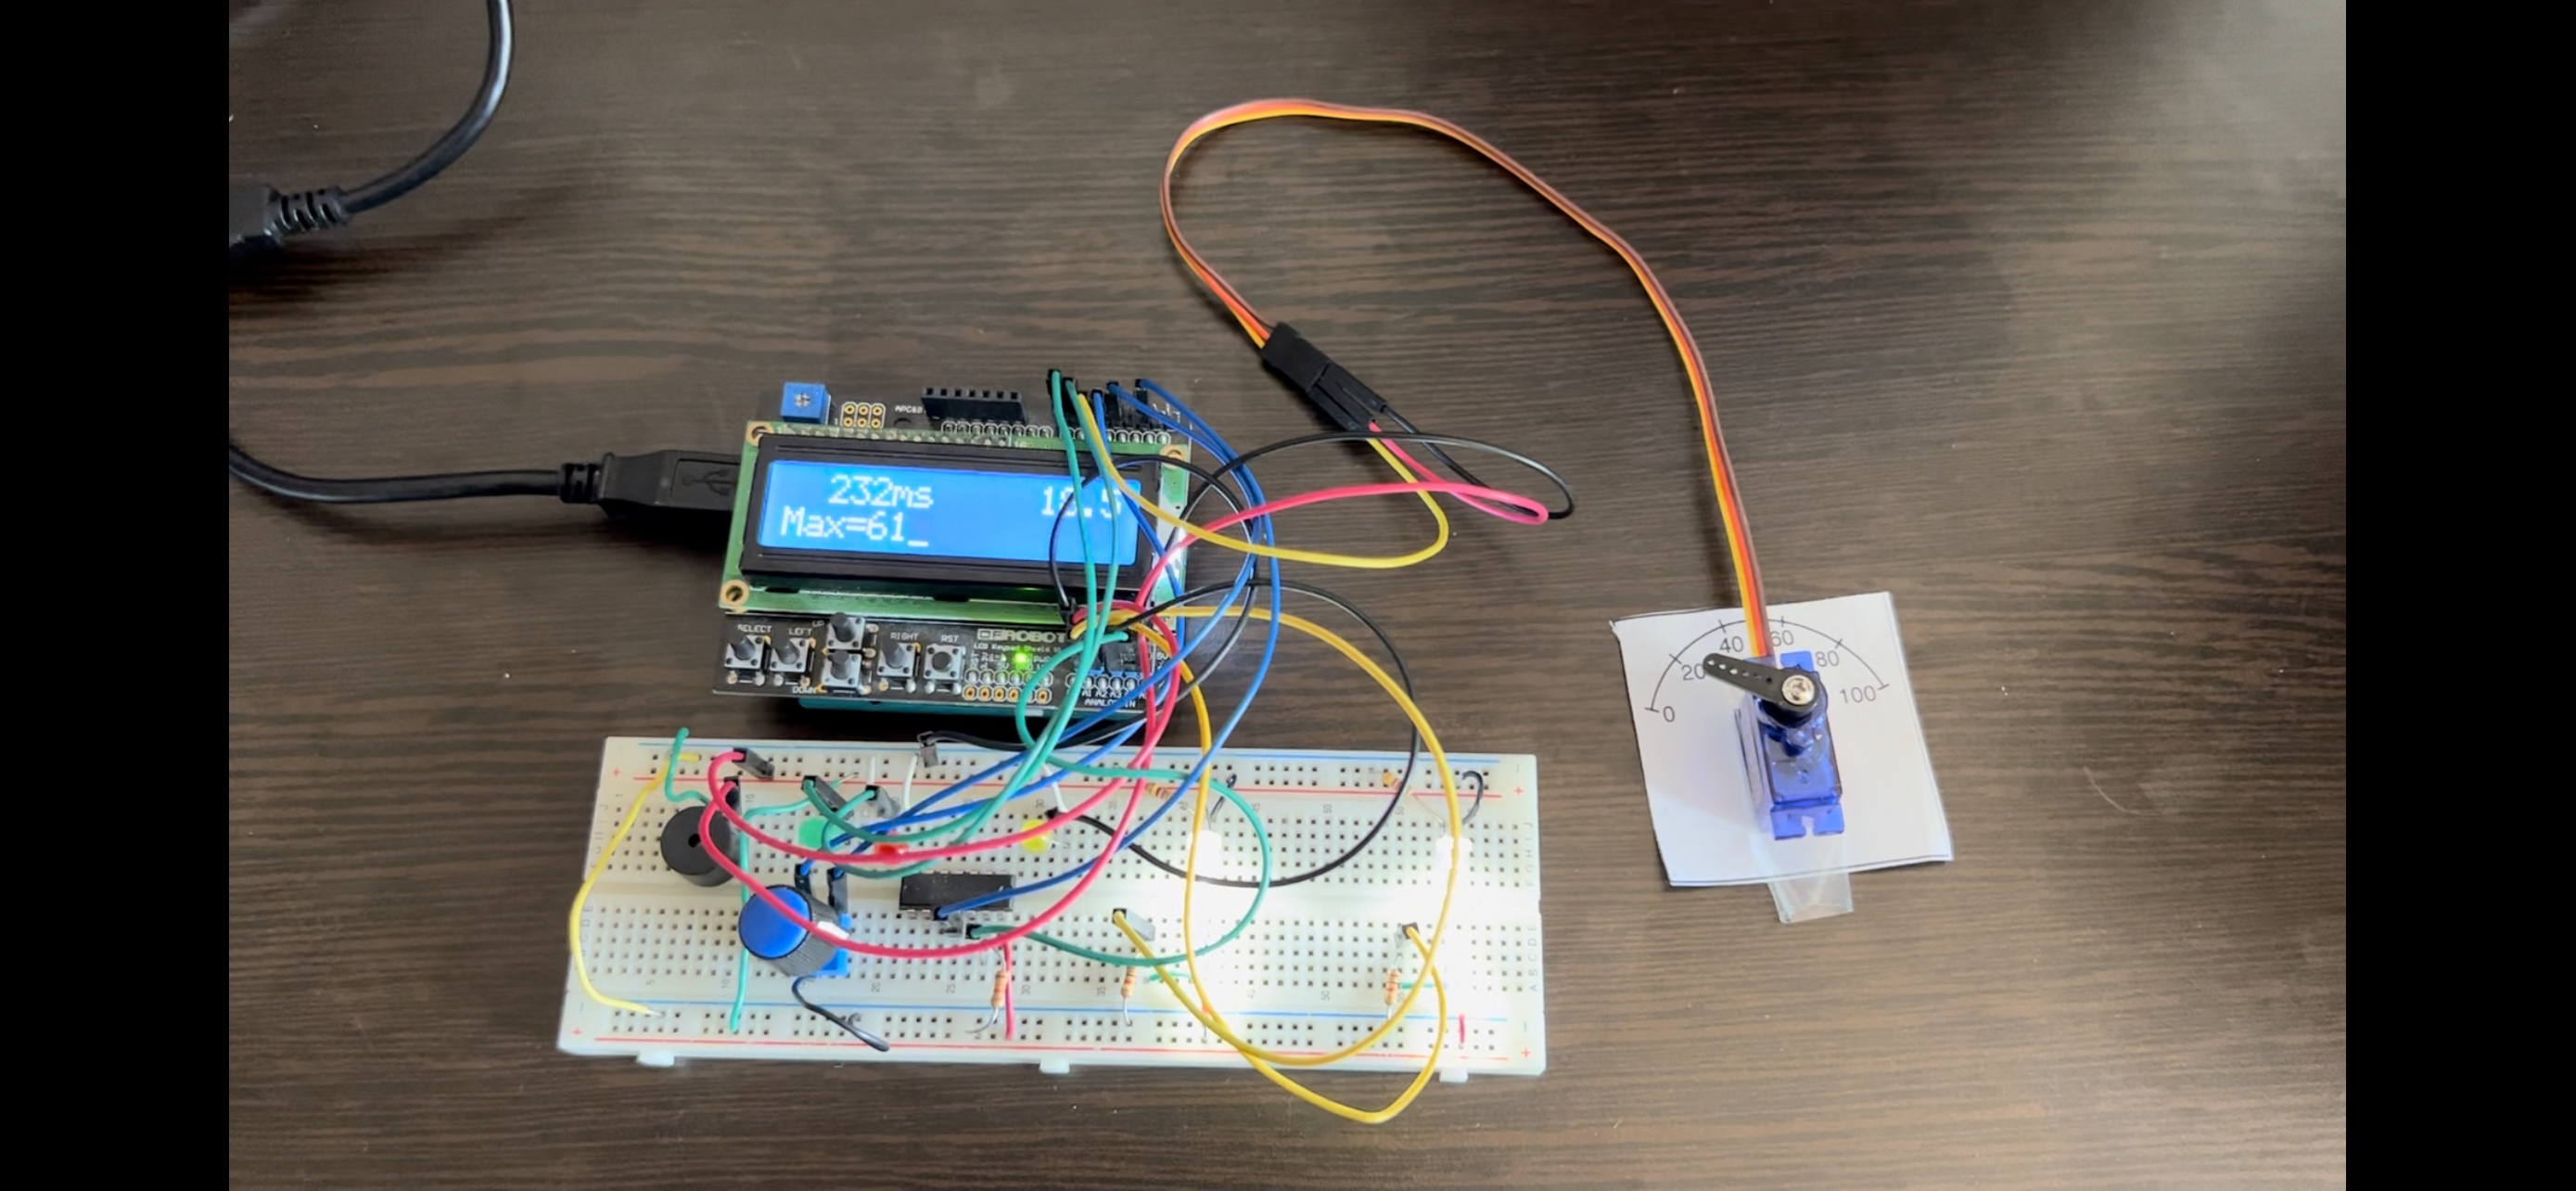
Today I experimented with a photo resistor because it came in the kit and I wanted to know its capabilities and behaviors. I wanted to know I could potentially use it on a robot in the future. Upon connecting the Arduino, photo resistor and the LED bulbs, the light would not turn on. At first, I did not understand why the bulb wasn’t turning on. However, I realized that my test code had set the sensor value to only turn on when the value is below 150. I turned on Serial.begin(9600) so I could see the analog output value coming from the photo resistor. I was able to debug that my surrounding environment gave an average value of about 300. After correcting the sensor value to turn on only when the light value is below 450, only one of the light bulbs was turning on. At first, I questioned whether the light bulb was burnt out and simply swapped it out. However, after swapping out the LED, the problem still remained. After looking through the circuit, I realized that I did not ground the LED and this was the reason why the LED wasn’t turning on. After grounding the LED, the circuit ran smoothly and I was able to test out how the LED turned on and off as a result of the photo resistor.


Comments